Using Origin Content

EVOLVE Origin Quick Start
An additional component of EVOLVE Mechanical, is the free-to-use EVOLVE Origin database. If you do not have a database, Origin acts as a great starting point. If you do have a database, Origin gives you the ability to add additional components missing from your current database.
Downloading the EVOLVE Origin Content
- In the EVOLVE Mechanical ribbon, locate the resources panel and open Content Portal.
- In the Content Portal, expand the Fabrication Parts Type.
- Select Download to start the download of the database.
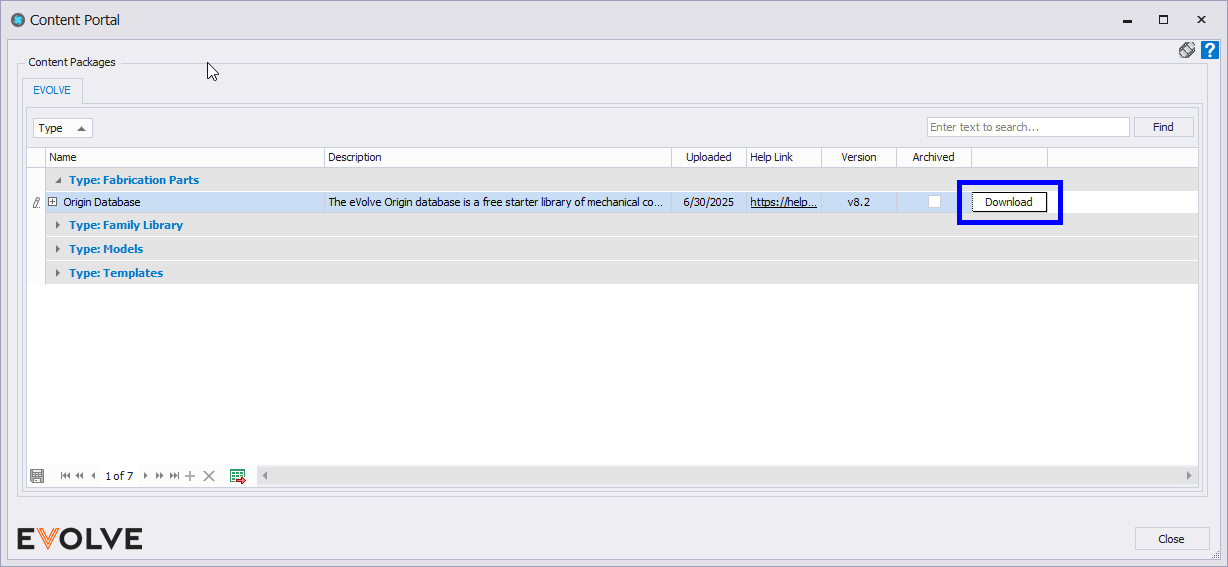
- Select the location you would like to save the database. EVOLVE recommends the C:/Temp folder.
Editing the configuration
IMPORTANT: this must be done for each installed version of Fabrication CADmep
- Click the Windows Start and select Fabrication CADmep 20xx and click Edit Configuration.
- From the CADmep window, click New.
- From the CADmep - Add Link to Configuration window navigate to C:\Temp\eVolve-Origin-Master\Content\eVolve Origin\config\eVolve Origin and click Select.
- From the Add New Configuration window click OK.
- From the CADmep window ensure the newly created database is selected and click OK.
- From the CADmep Config Editor window, click OK.
Adding a unique GUID
Once extracted to the C drive, a GUID must be defined for the Fabrication Configuration using an installed Fabrication program. The GUID allows Revit to identify each unique configuration. Click the following link for instructions on how to see the existing and/or change/set the GUID for a database.
IMPORTANT: If a GUID already exists, DO NOT generate another, doing so will disassociate existing models create with that particular database.
WARNING: Please note that copying parts, mainly piping parts from one database to another may result in unwanted data being brought into the database. This data includes but is not limited to, connectors, materials, gauges, and specifications. Please back up the fabrication database prior to incorporating outside content within.
Selecting the configuration in Revit
- From the System tab, click the panel menu in the Fabrication panel.
- From the Fabrication Settings window, on the Fabrication Configuration tab, click the Fabrication configurations menu and select the configuration created in the previous steps above.