System Families
![]() Updated 3 years ago
by
Kerry Poe
Updated 3 years ago
by
Kerry Poe
System Family Configuration

Summary
Choose a reference project for loading families. Default loads default eVolve families, which references eVolveSystemFamilies.rvt. If any changes are made, eVolve will create and store a file named UserSystemTypes.xml for storing and referencing the changes.
- eVolve tab ⮞ Resources panel ⮞ Settings menu ⮞System Families Configuration button


Usage
Changing Workstation System Families
- From the eVolve Mechanical ribbon, in the Resources panel, click the Settings button and click System Families.
- From the System Families window, under Reference Project, select a file path to the project containing the Families that eVolve will utilize for that workstation. In the photo below, a default file path is shown.
- Select a tab for the family category being added.
- Click in the top row to add a new row/family.
- Under Type Name, enter the name of the added part exactly as it appears in the reference model.
- Under Description, enter the desired description. This will be what appears in the eE_Description parameter.
- Click OK.

To Return to Default System Families
- From the eVolve Mechanical ribbon, in the Resources panel, click the Settings button and click Workstation Settings.
- From the Workstation Settings window, under System Family Configuration Company Standards File, delete the shown file path, so the field is blank.
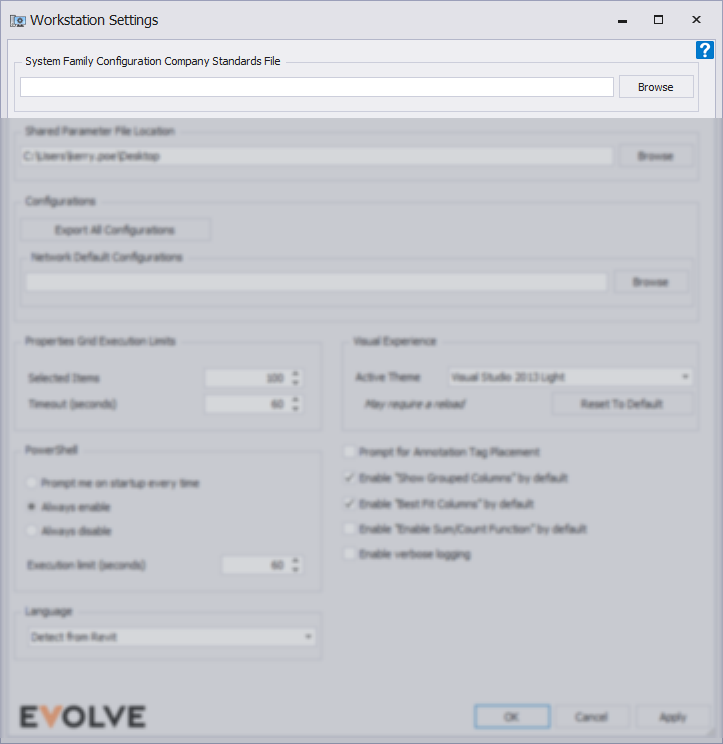
- Click OK.
- Restart Revit for the change to take effect.
