Annotation: Tags
eVolve's Annotation Tags allow you to predefine which Revit tag to use for certain element types and for each tag, set placement options such as position, offset, and leader.
Features:
- Offset - displays the SU and SD from the Top for ductwork.
- Length - displays the Length for both ductwork and pipework.
- Alias - displays the Alias for hangers, ductwork, and pipework.
- Multi - This tag is meant for tags containing multiple points of data.
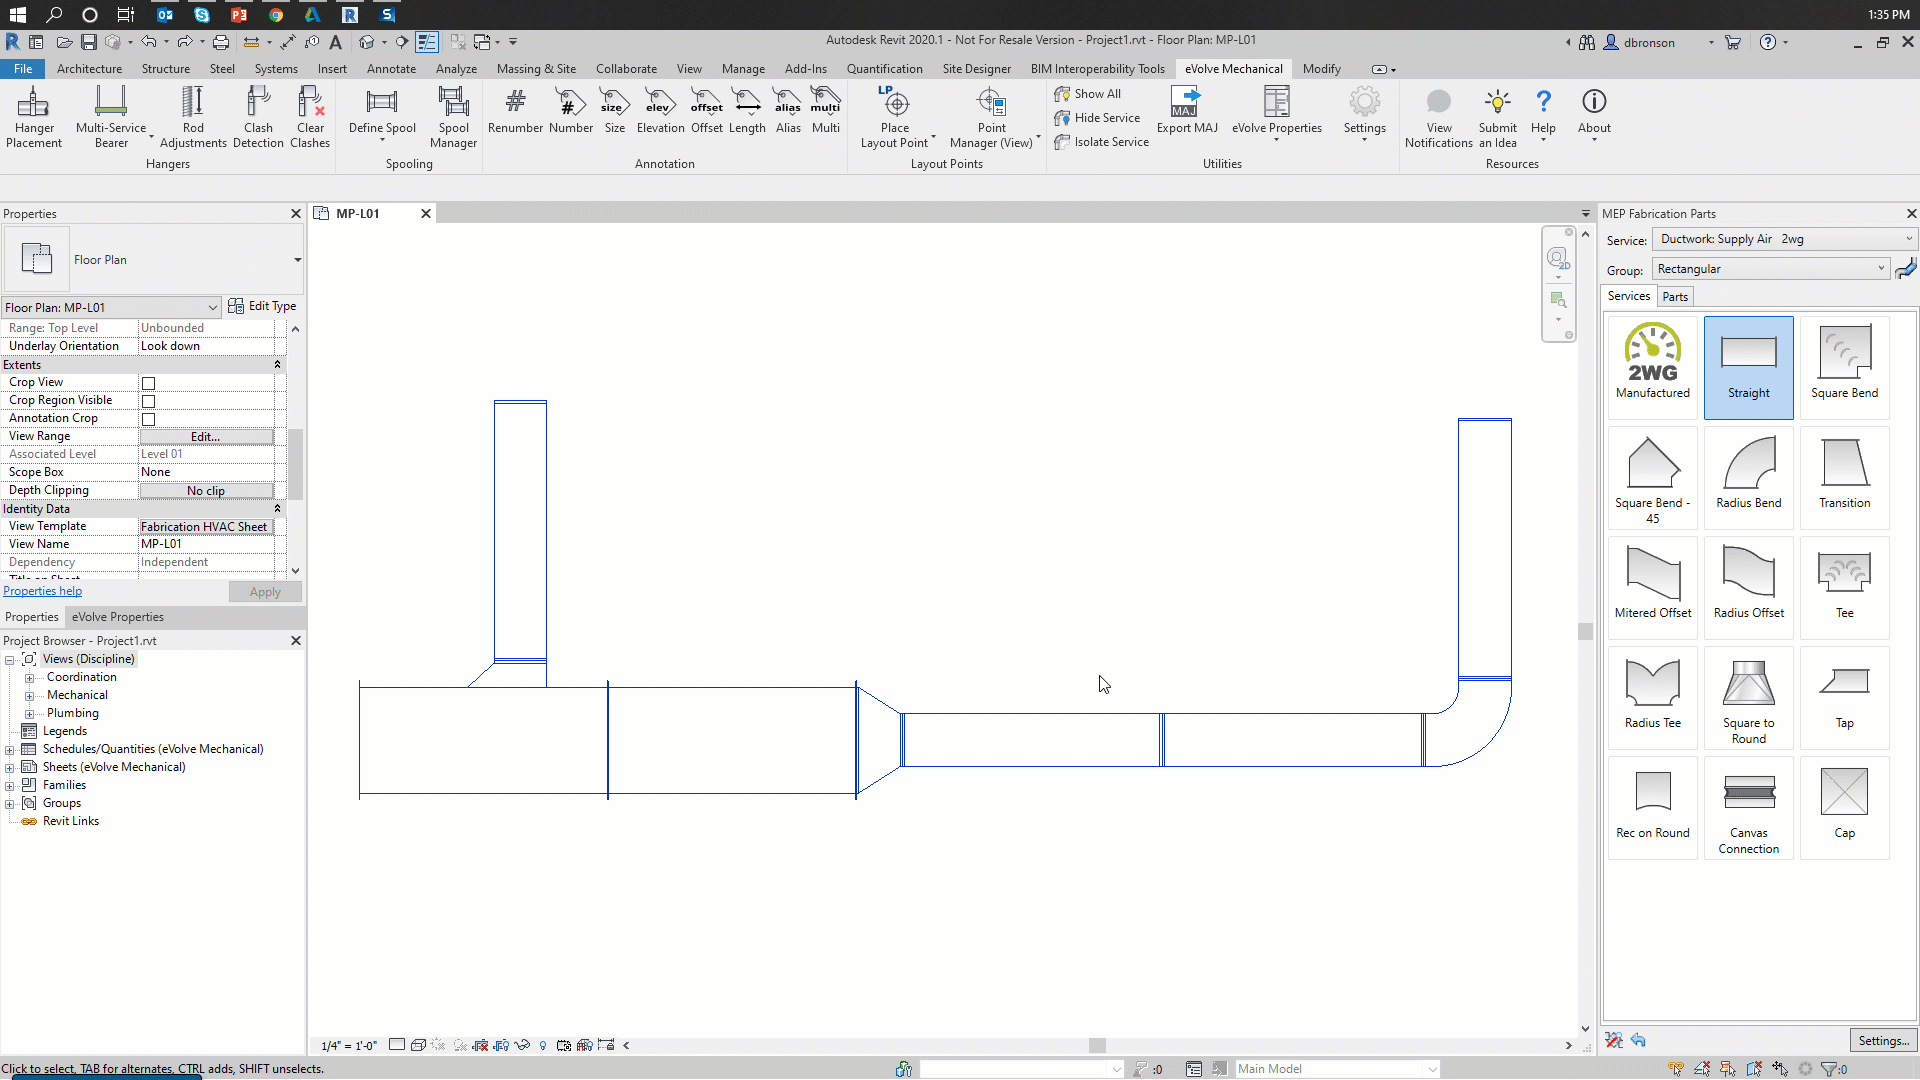
- Number - displays the Item Number for the part selected.
- Size - displays the Shape and Size for ductwork, Fab Service Abbreviation for pipework.
- Elevation - displays the BOD and TOD for ductwork and BOP for pipework.
- Custom Tags - A quick and easy way to place any Revit tag with placement options predefined such as position, offset, and leader. See User Annotation Tags for more information.
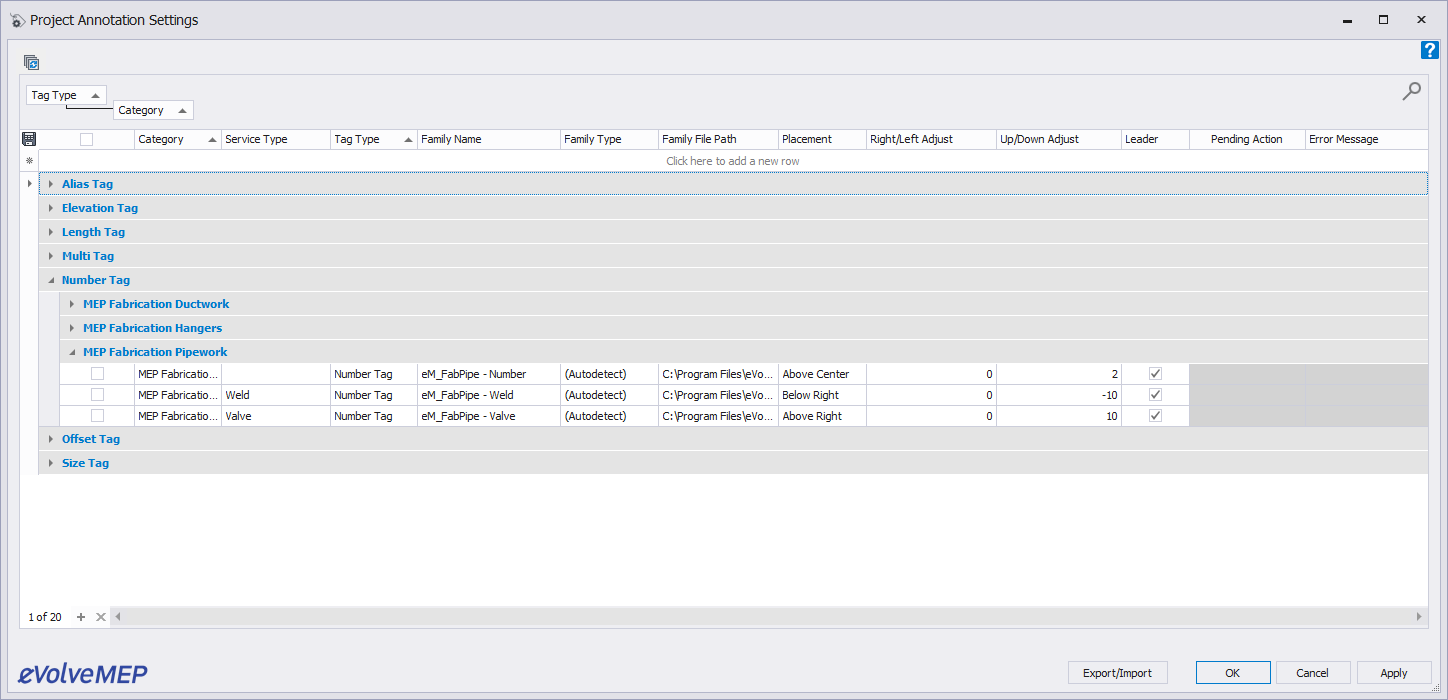
Settings
Annotation Settings defines the general behavior of each Annotation Tag button. Within this dialog, rules may be created for each tag button. The rule is applied to the category and then service type (if it is a Fabrication element). For each rule, a Revit tag, the default placement and offset, and whether the tag will use a leader or not can be set. For more information, see Annotation Settings.
Tag Placement
Within Workstation Settings (Settings\Workstation Settings) there is an option "Prompt for Annotation Tag Placement". This option forces the tag placement for each annotation placed to be selected, overriding the tag offset settings. Alternatively, you can leave this tag disabled and hold the SHIFT key during the tagging commands to temporarily enable prompt for placement.
Shift + Click Placement
Tag Multiple Elements through Contextual Ribbon