Spool Settings
Spool Settings

Summary
The Spools Settings area allows users to define when and how various options and statuses are applied to spools.
- eVolve tab ⮞ Resources panel ⮞ Settings menu ⮞ Spool Settings button


Window Overview
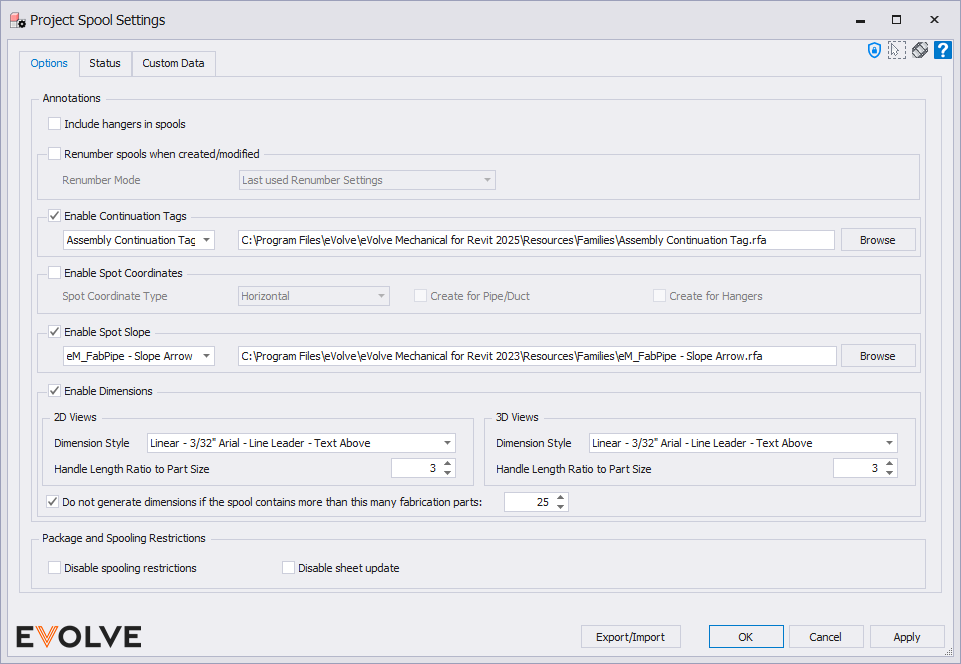
General Tab
IMPORTANT: These are global options; disabling them overrides the options for each viewport in your spool template.
- Include Hangers in Spools - When checked, hangers hosted to your Define Spool Run or AutoSpool selections will be automatically included in the spool.
- Renumber spools when created/modified checkbox panel - when enabled, this option will use your current renumbering settings to renumber the spooled components when created or modified.
- Renumber Mode menu
- Last used Renumber Settings - uses the last radio selection in the Renumber panel on Renumber Settings window as the renumber mode.
- Renumber Elements - runs the rule set against each element in the selection, numbering in no particular order.
- Renumber Elements by Spool - runs the rule set against each spool in the selection, resetting the starting value with each spool.
- Renumber Mode menu
- Enable Continuation Tags - Define the tag and path to the RFA. With this option enabled these tags will automatically be placed in the spool, notating the connecting spool number.
- Enable Spot Coordinates - Places spot coordinates and elevation on the opening of the spools and/or the top of the hanger.
- Enable Spot Slope - If the pipe is sloped in the spool then this slope tag will be placed automatically.
- Enable Dimensions - Global option for enabling dimensions in spools.
- Leader length
- Dimension style
- Maximum number of fabrication parts to dimension setting
- Package and Spooling Restrictions panel
- Disable EVOLVE spooling restrictions - EVOLVE spooling restrictions prevent users from assigning different elements contained with spools across multiple packages and displays a prompt when changes are made to packages. By disabling this option, all restrictions are removed, and it will be up to the users to assign elements accordingly.
- Disable sheet update - Disables the prompt to rebuild the spool sheet that appears when an assembly(spool) is modified.
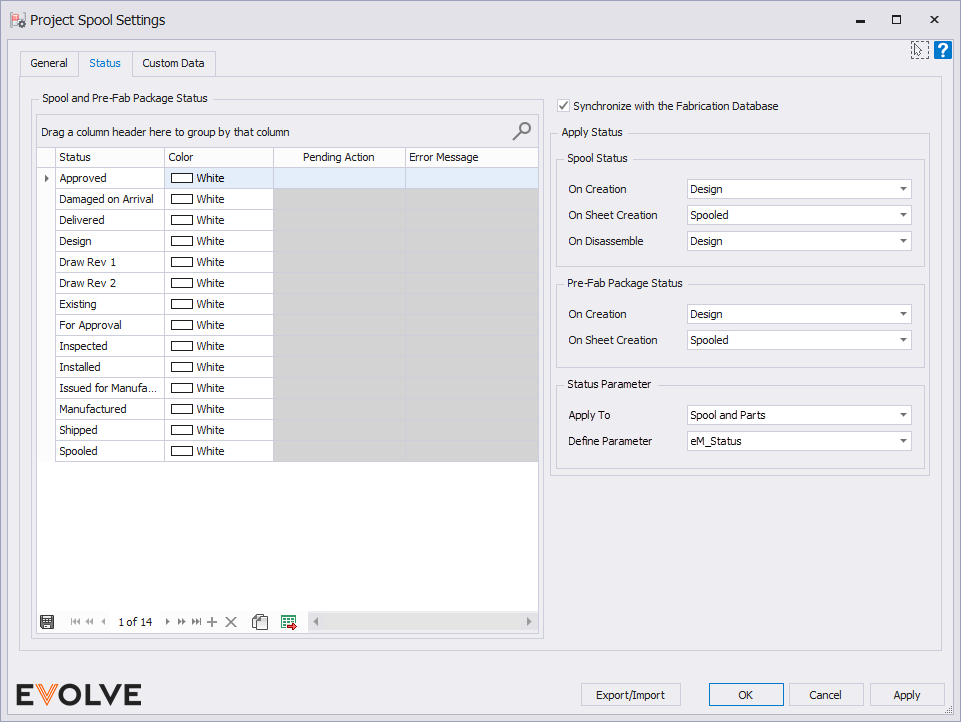
Status Tab
- Spool and Prefab Package Status - The Spool and Prefab Package Status grid allows users to add and define any status when a sheet is created. Simply enter a status parameter and select the color to apply that will be visible in the Prefab Manager.
- Synchronize with the Fabrication Database - when checked, statuses from the loaded fabrication database populate the grid. The fabrication database can be found in System/Fabrication/Fabrication Settings.
Apply Status
- Spool Status
- On Creation - applies the selected status when a spool is defined.
- On Sheet Creation - applies the selected status when a spool is generated.
- On Disassemble - applies the selected status when a spool is disassembled.
- Pre-Fab Package Status
- On Creation - applies the selected status when a package is defined.
- On Sheet Creation - applies the selected status when a package is generated.
- Status Parameter
- Apply To
- Spool and all elements - the spool's current status is applied to the assembly(spool) element and all elements contained within the spool.
- Spool only - the spool's current status is applied only to the assembly(spool) element.
- Define Parameter - allows user to define which parameter the status should be written to.
- Apply To
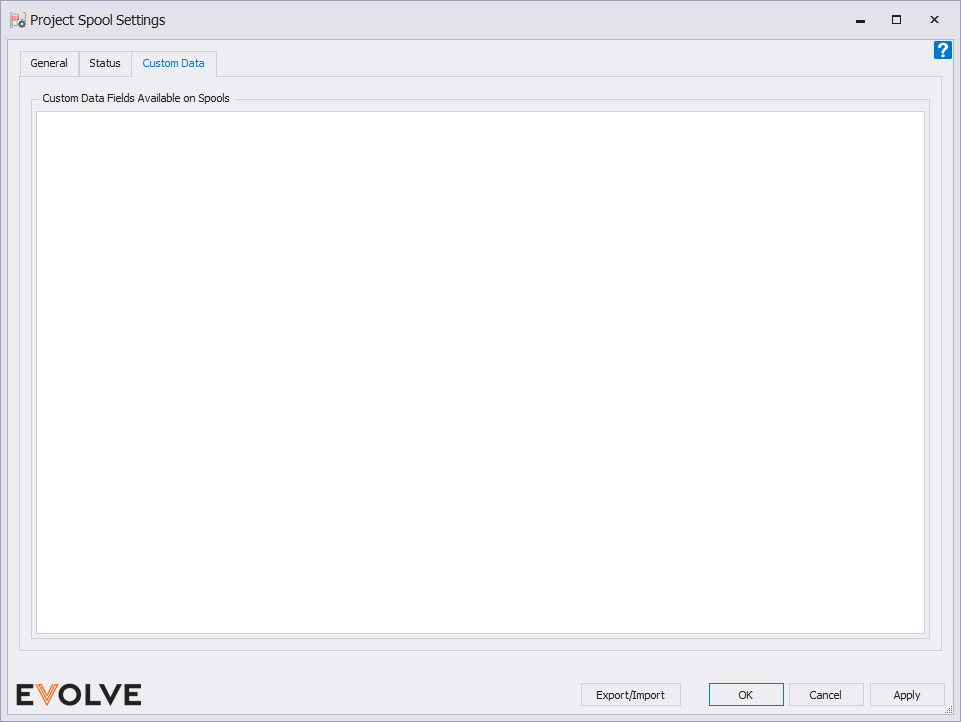
Custom Data Tab
Used to display and select available Custom Data fields from the Autodesk Fabrication CADmep application.
Enabling Custom Data Fields
In order for the Custom Data fields to be displayed in select Mangers, the following steps must be completed.
IMPORTANT: Ensure the model is named (the model is saved) and the desired Custom Data fields are present in the MAJ file. After importing the fabrication items, save the model.
To make the parameters available in Parameter Settings
- From the eVolve ribbon, in the Utilities panel, click the Settings menu and select Spool Settings.
- From the Spool Settings window, click the Custom Data tab.
- From the Custom Data tab, check to select the desired Custom Data field(s) then click OK.
To make the parameters available to select managers
- From the eVolve ribbon, in the Utilities panel, click the Settings menu and select Parameter Settings.
- From the Parameter Settings window, from the top row where the Click here to add a new row text is displayed-
- Click the Parameter Name menu and select the desired parameter.
NOTE: the parameter name will be prefixed with eM_ (e.g., If on the Custom Data tab, Tag is selected, then in the Parameter Name menu, eM_Tag is displayed). - Select the Manager(s) where the parameter will be displayed.
- Click OK to close the form or Apply to continue adding more parameters.
- Click the Parameter Name menu and select the desired parameter.
Displaying the parameters in the manger
- From the manager, right-click on any header column and select Column Chooser.
- From the Customization pop-up window, drag and drop the parameter names into the row header.
- Once all desired parameters are added, close the Customization window.

Tips and Tricks
- The Continuation Tags and Spot Slope navigational paths default to the eVolve installation folder and will automatically change when the application is updated. However, if a different path is specified, then that new path will persist and if the family file is not found in the specified path, an error is displayed when... To correct this behavior:
- From the Spool Setting window, click Browse in the Enable Continuation Tags panel and/or the Enable Spot Slope panel.
- From the Select the Revit Family Definition file window, navigate to the current installation directory, select the desired family (.rfa) file, and click Open.
Default installation directory - (C:\Program Files\eVolve\eVolve Mechanical for Revit 20xx\Resources\Families\)
- From the Spool Settings window, click OK.
